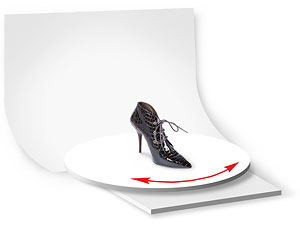
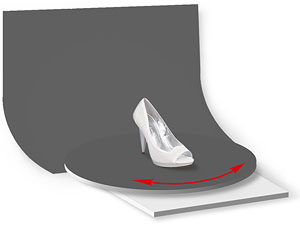
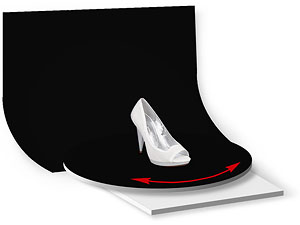
Compact turntables for 360 product photography with manual rotation (M series). Also suitable for 3D scanning and video shooting |
||||||||||||||||||||||||||||
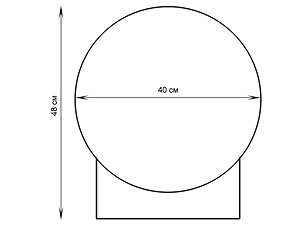
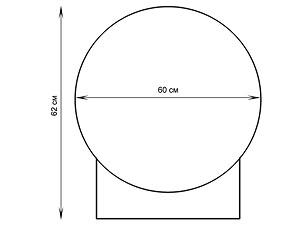
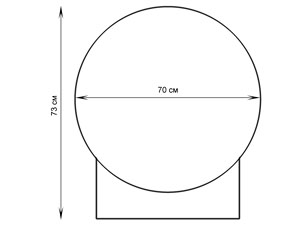
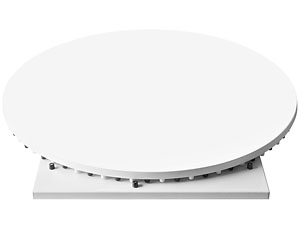
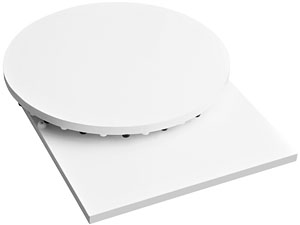
For online store owners - an effective way to display products on site with rotation. Essential tool to create rotating images for your websiteMany online shop owners are familiar with this problem: indecision of buyers. Unlike a real store, buyers cannot take the goods in their hands and see product from all sides. Thus it is difficult for them to make a decision. And buyers often leave online shop without a purchase. To convince the buyer, show him your goods from all sides: detail, bright, attractive. Now it is easy with 360 degree photography. Let your buyers feel like they took product in their hands and examine it personally. Practice proves: rotating 'live' images increase online sales. Special turntables for 360 product photography facilitate the photographic process and help you to make excellent 'live' images for your website. M Series Turntable is ideal to you, if: M Series: featuresTurntable consists of rotating disk (40, 60 or 70 cm) on a fixed basis, made from 16mm laminated particle board, white colored. Rotary mechanism is a metal annular bearing, it provides smooth rotation and good resistance to loads. All turntables are small height - only 5cm, so they are convenient for carrying and need minimum space during storage. Suitable for shooting products in any situation (in pavilion, on the desk, in light cube, in a small studio in the office, in the warehouse, at home, etc.) Dimensions of M Series turntablesCurrently available turntables with disc diameter of 40, 60 and 70 cm. Height is 5 cm. Dimensions and weights of these turntables:
Maximum load:
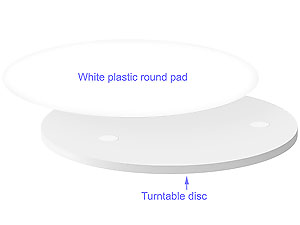
More about M Series turntables for 360 product photographyTurntable has a special brake. The brake prevents spontaneous moving of photographed product at the shooting time. Rotation by hand is quite easy, with a little effort. Shooting process is fast and comfortable for the photographer. You do not need to follow the exact disc positioning. Disc stops at predetermined positions (sectors). For this purpose disc has special pins for fingers: Turntable markup in details... Special version of turntable M-V for video shooting and 3D scanningFor video shooting and 3D scanning we offer you turntables with free rotation, without brake and markups: models M-60-V and M-70-V. Complete set of M Series turntableStandard complete set includes replaceable round pad made from optical-white and scratch-proof plastic (0,5 mm thick). Circle is washable and scratch-resistant. |
|
|
You can fix the circle to the disk surface with small pieces of bilateral adhesive tape to avoid shifts during shooting process.
Turntable markup in details
Hand-rotating turntable provides a sufficiently high speed of shooting, comparable with automatic turntables much higher price range. The secret is in a convenient sector markup on the disk.
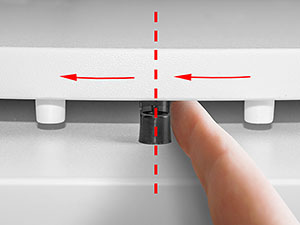
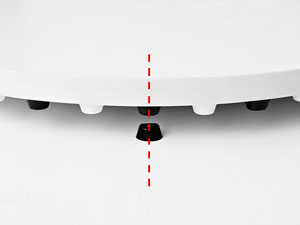
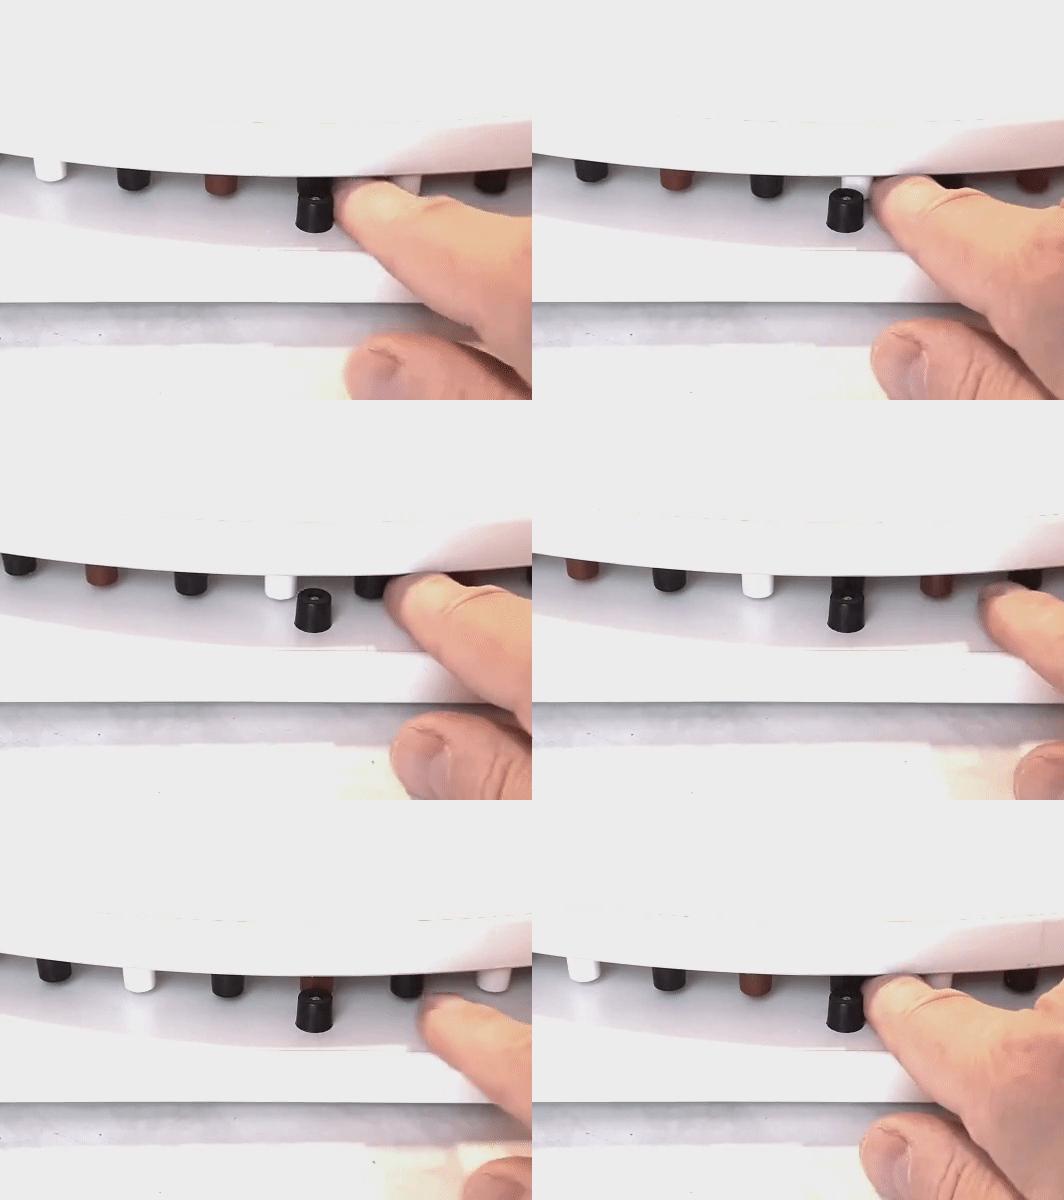
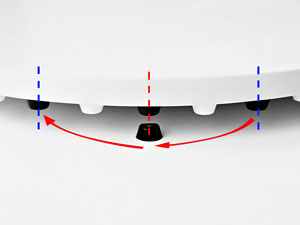
Disc has sector pins on its lower side, and the fixed base also has 'stopping' pins. You just combine the top and bottom pins with a finger to set the desired sector.
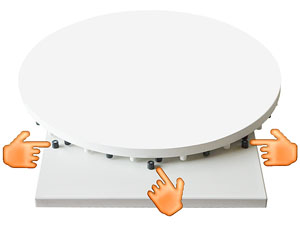
There are three 'stopping' pins on different sides of the turntable. You can stand on the right or on the left side from your camera, and you can rotate the disk by the right or the left hand:
You can rotate the disc to the touch, without looking at the markup and without being distracted from the photographic process.
If necessary, you can photograph with twice smaller number of angles on one turn of a disk. For this purpose the pins has different colors. Colors alternate one after the other. To photograph with smaller number of angles use only one color. For example, you may receive either 72 angles (all pins) or 36 (pins of the same color) using disk with 72 pins.
Also, you can make additional markings on the turntable's edge. For example, the basic 96 sector markup allows you to get: 96, 48, 32, 24, 16 sectors, etc.
 Ask your question: addspace@inbox.ru
How to choose the optimal number of sectors (angles) for your turntable?
The main dilemma: a large number of angles on one disc turn ensures smooth rotation of 360-object. But your total files size increase. And the load time of the rotating picture increases too.
Fast loading is very important for online stores. Images and flash-objects can slow the loading of web-pages. It is particularly noticeable at slow Internet connection: Wi-Fi networks, mobile Internet and the inhabitants of remote regions. You risk that the visitor will not wait and leave your site. What can you do?
Use jpeg image compression to increase loading. Set the optimum compression ratio to maintain a reasonable quality of the images of a rotating product, to avoid smearing and loss of fine detail. You can make tests with different compression and choose the best option.
Fast rotation of products looks smoother. But you can not see the product in detail at fast rotation. And you can see obvious fragmentary (discrete) movements at slow rotating. Therefore, if you want to show a nice slow rotation, you better photograph products with a large number of angles.
Step-type behaviour is less appreciable at rotation of the image by the mouse (without automatic rotation).
Objects with round shape, such as vases and plates, look quite smoothly rotating even at 18-24 angles per revolution. But the objects of complex shape with corners and ledges require a much larger number of angles: 64-72 and more.
You can select the number of sectors for your turntable according to:
- product rotation speed (fast rotation requires less angles for sensation of smooth rotation);
- image sizes (larger picture > larger file sizes > slower loading, and Vice versa);
- the number of images on webpage (fewer images > faster loading);
- your audience (what proportion of your website visitors have slow Internet);
- speed of your website in general.
Approximate file sizes for various amounts of angles*:
36 angles - 500 KB
48 angles - 700 KB
64 angles - 900 KB
72 angles - 1 MB
96 angles - 1,4 MB
*(image ~500x300 pixels with white field around the product, jpeg compression quality 70)
 Ask your question: addspace@inbox.ru
Shooting process on M series turntable
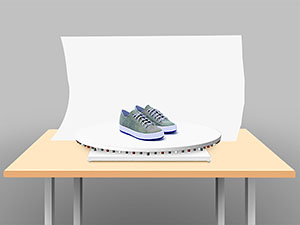
1) Place the turntable on a flat surface: floor, desk or into light cube, depending on chosen lighting scheme and product size. If necessary, hang a background behind the turntable.
2) Arrange and turn on lights.
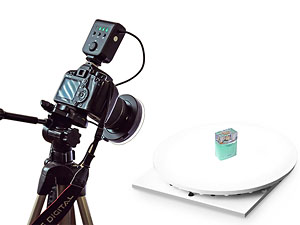
3) Mount your camera on a tripod, set an optimum lens focal length (usually in the range 50 mm - 120 mm). Shooting distance from the object to camera must be much larger than the object's size (not less than 4-5 times) to show the correct proportions and shape of the object. Make sure that the front edge of turntable disc and also its left and right edges are outside the frame. You do not need to process images after shooting if there is nothing stranger in the frame and the exposition is adjusted properly. Use a cable release or remote control to reduce the risk of shifting your camera during shooting. These precautions will save you time later.
4) You cover the turntable with white plastic or paper circle, then place a product to the center. Rotate the disc left and right by hand to check: product placed exactly in the center or not. If necessary, center the product. You can see that some products of asymmetric shape looks better while placed not exactly to the center. Try rotating such product and moving it near the center, and you will find a position, that is more pleasant to your eye. This is the correct place.
5) Set the first shooting angle. Slide nearest pin (under the disc) with your finger to the stopping pin (located on the bottom side) until it stops your finger. Now the product is set on the first angle, all is ready to first shoot.
6) Take a picture. Then turn the disc to the next angle: slide next pin to the stopping pin. Take the next shot. And so on until a complete revolution of the disc.
If you are not sure that you have photographed full turn, make a few extra shots (angles). You can delete extra images lately.
7) After shooting, copy images of photographed product to your computer and put them into a separate folder. Name the folder according to name or article of this product. Then you can easily find pictures later.
If your camera has no direct connection to computer, there is another solution: make an empty frames - "space" between shooting different products. For example, take photos of an empty turntable without a product, or color card, or your hand. After shooting session you will copy files to your computer and separate images series from each other. Empty frames will really help you.
 Ask your question: addspace@inbox.ru
User Guides (passports) for M series turntables:
How to arrange light for product photography on M series turntable. Examples
We recommend you to use continuous light sources for 360 degree product photography.
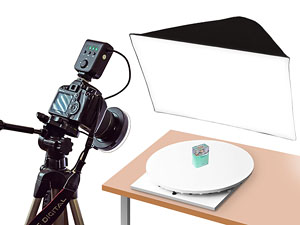
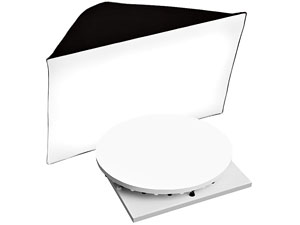
1) Large softbox mounted behind the turntable overlights the rear disc edge and makes background brightly white. The product seemed to hang in the air on a white background:
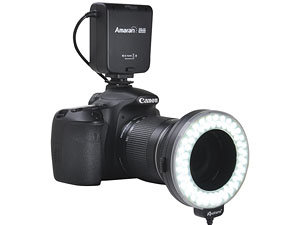
2) Ring light (continuous or pulse) mounting on a lens effectively eliminates shadows around the product:
 |
 |
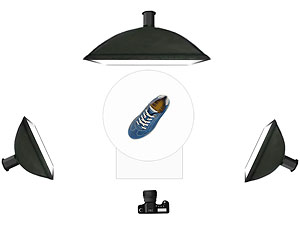
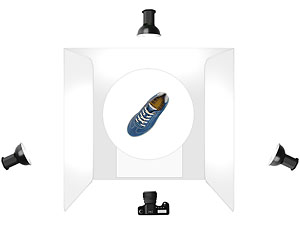
We recommend you to set three light sources from different sides to reduce shadows in front of the product and show its surface and shape well.
3) Shadow-free lighting with three softboxes (top view):
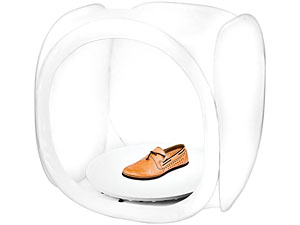
4) Shadow-free lighting inside a light cube. Light cubes provide wide possibilities to control light, whereby the light sources may be any type: from the ordinary energy-saving lamps to professional led panels or studio flashes.
For good results, use three sources of light (or more). Side lights show product's surface and shape, the rear light lightens the background (see top view):
 Ask your question: addspace@inbox.ru
 You need a reliable and durable turntable, suitable for use in all conditions,